Kaleidoscope Painting
Corel® Painter 17 can transform basic brushstrokes into a colorful and symmetrical kaleidoscope image. Painting in one kaleidoscope segment will create multiple reflections in the other segments.
Create your own Kaleidoscope painting by following the step by step directions below:
Create your own Kaleidoscope painting by following the step by step directions below:
Project Requirements & Objectives: Students will...
- Develop skills using the Art Elements, Line, Color, and Art Principle of Balance - Symmetrical Design
Step 1
Open Corel Painter and make a new document with these settings:

Step 2
Click the Kaleidoscope Painting tool in the toolbox.
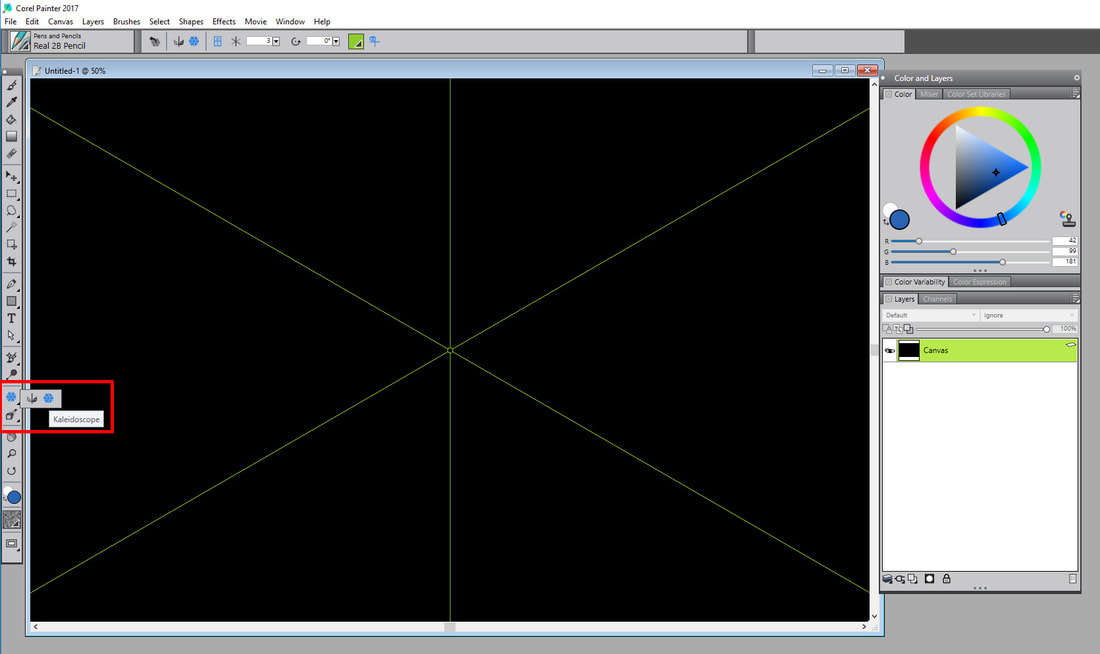
Click to enlarge image
Step 3
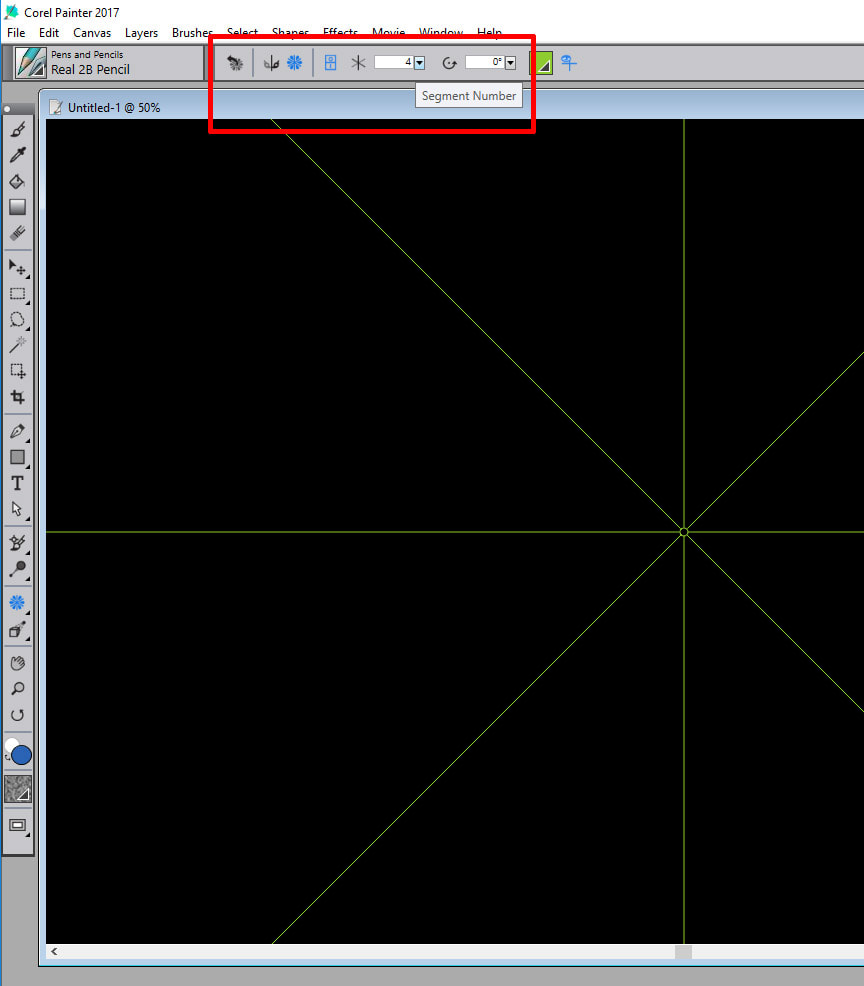
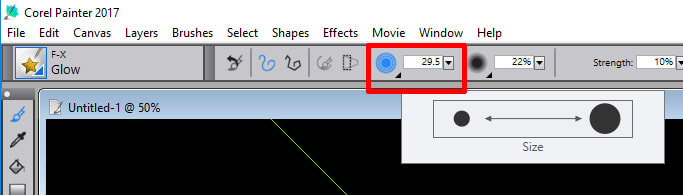
Type the number of planes (4) needed to display in the Segment Number box found on the Properties bar, then press enter.
Step 4
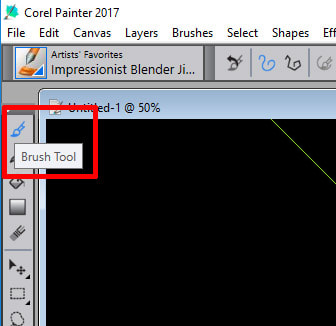
Click the Brush Selector in the Properties bar.
Step 5
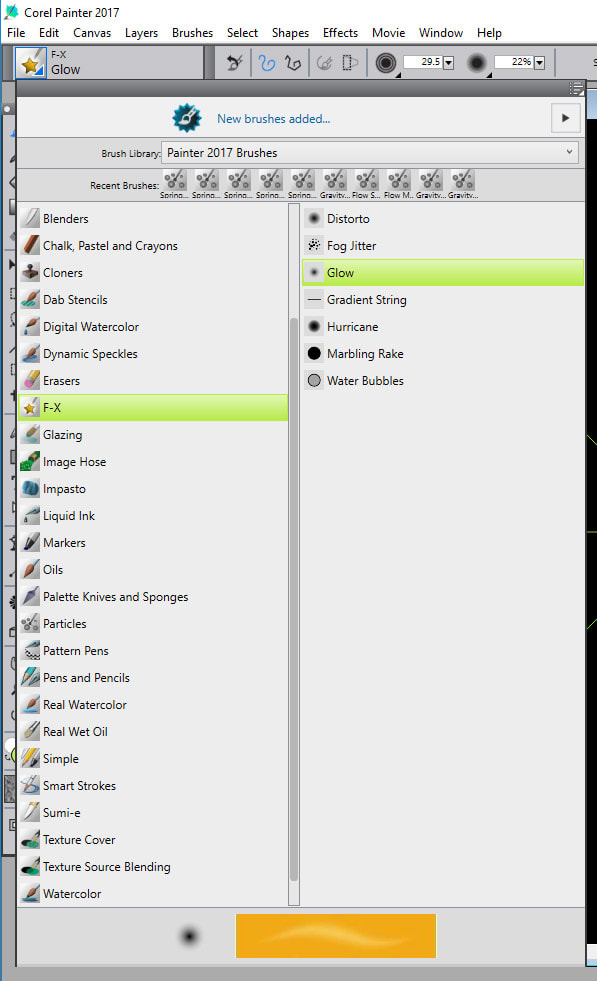
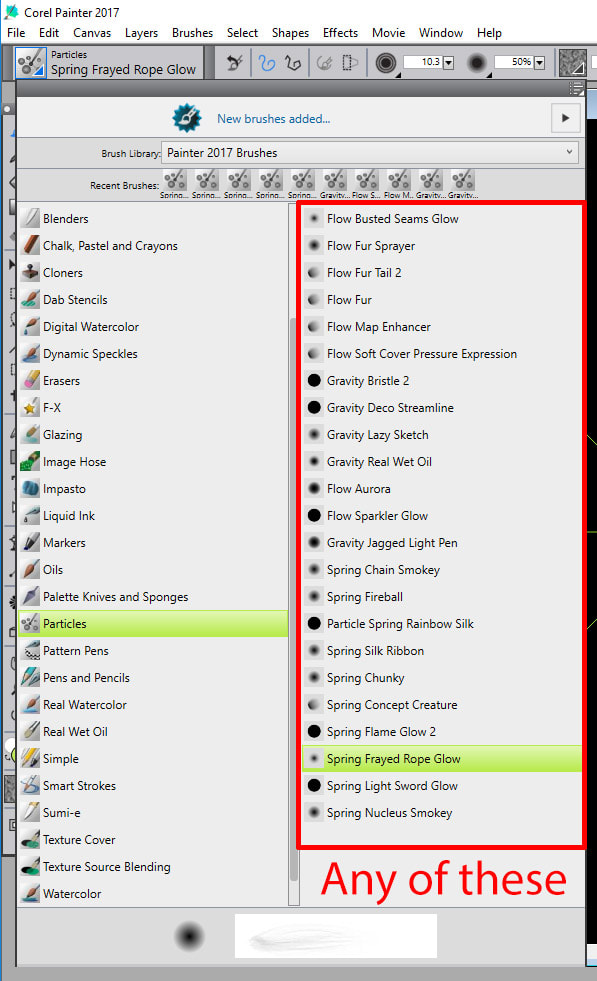
In the Brush Library panel, select from the following brushes:
- FX brush category and then select the Glow brush variant
- Particles - Any of the variant
Step 6
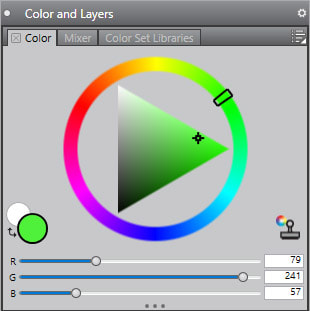
Change your colors (using lighter values) and brush sizes as you work. Using different sizes (big and small) is necessary to get the best results.
|
|
Step 7
Apply brushstrokes to any of the kaleidoscope segments. The more you go over an area with the Glow brush and the Particles brush the more different effects will be visible.
If don’t like the brush stroke you create, go to Edit > Undo to remove it and try again.
If don’t like the brush stroke you create, go to Edit > Undo to remove it and try again.
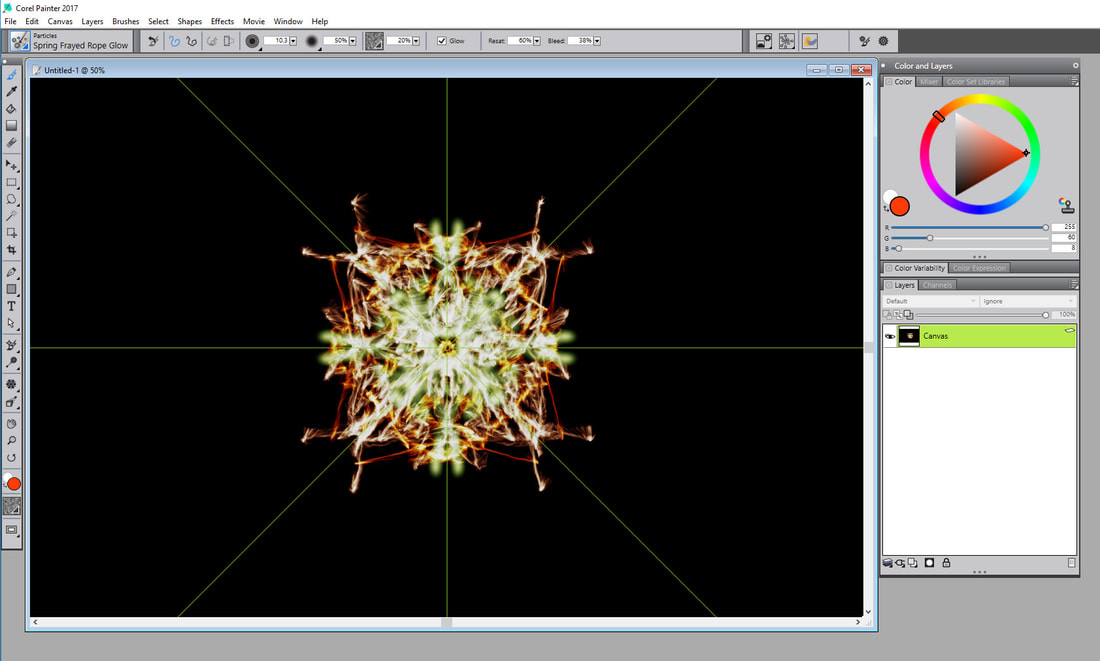
click to enlarge image
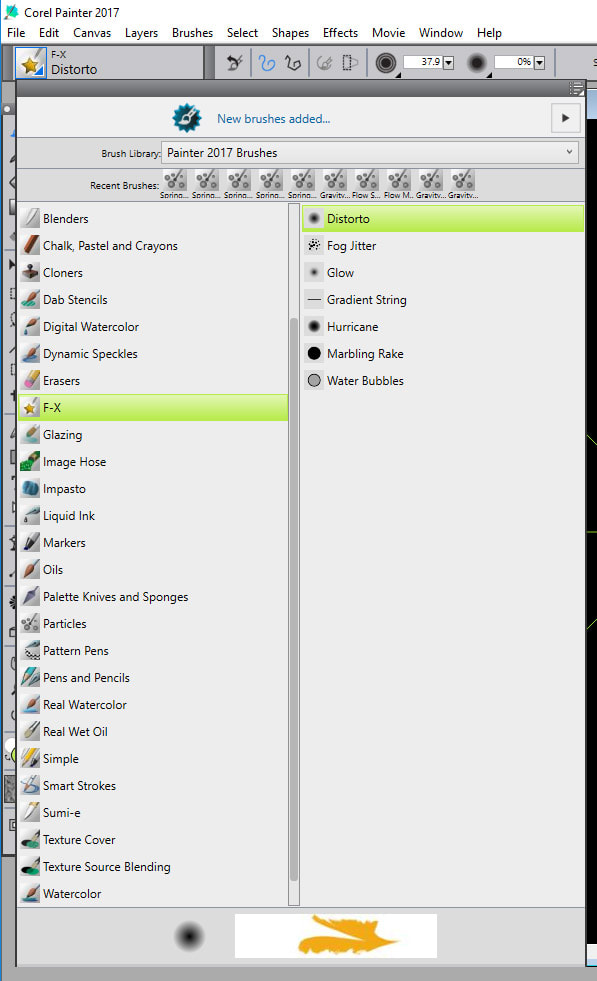
Step 8
Try switching to the Distorto brush in the FX brush category.
This brush will move the paint you apply, NOT add new color. It creates very interesting effects.
This brush will move the paint you apply, NOT add new color. It creates very interesting effects.
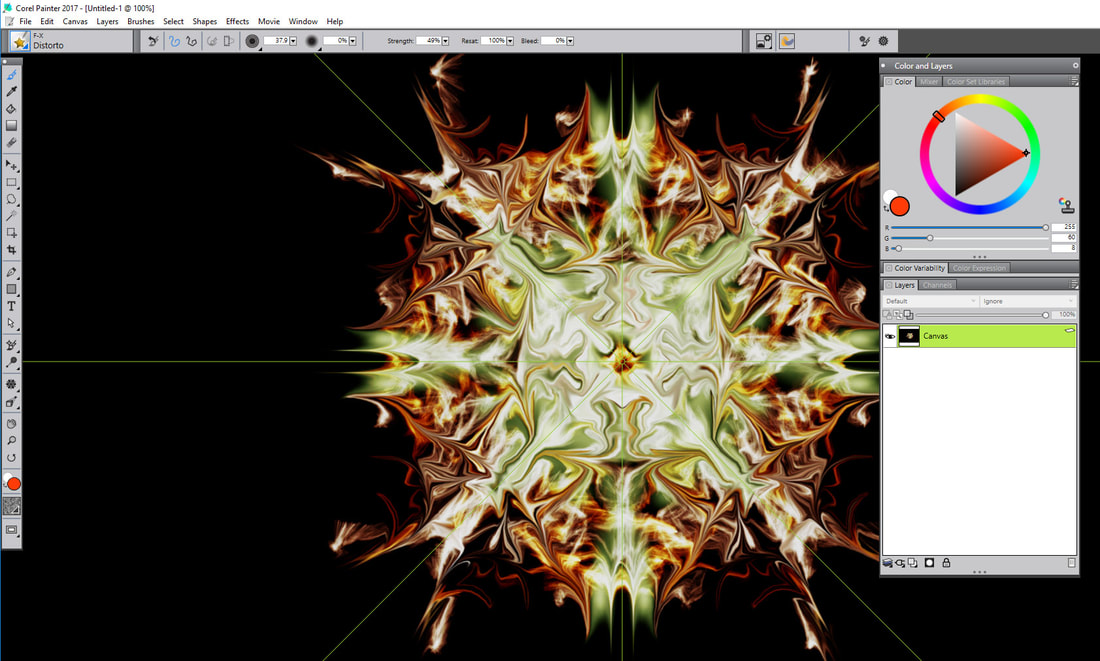
click on image to enlarge
Step 10
If you like, try other brushes besides the Glow or Distorto brushes from the FX Brush
Step 11
Save this to Your Google Drive folder as Kaleidoscope Painting
JPG file type
JPG file type

