Layer Masking Exercise
|
|
Learn and use one of Photoshop's greatest features called Layer Masking. This allows you to hide parts of images and see others that are below in the Layers Palette. You can also bring back the area you hide at a later time as long as you save in the image in the Photoshop format.
Understanding and using this feature of Layer Masking will be an important part of projects we begin to work on after this exercise.
Understanding and using this feature of Layer Masking will be an important part of projects we begin to work on after this exercise.
Step 1
Open Photoshop (remember you will use a different procedure if you're using Chromebook or personal computer at home) here at school in lab 21 at East Campus.
Step 2
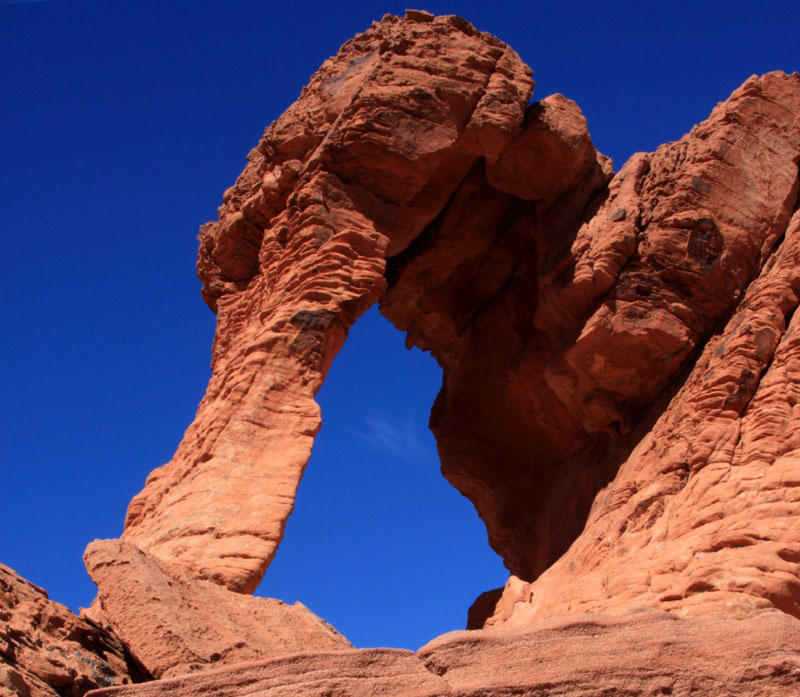
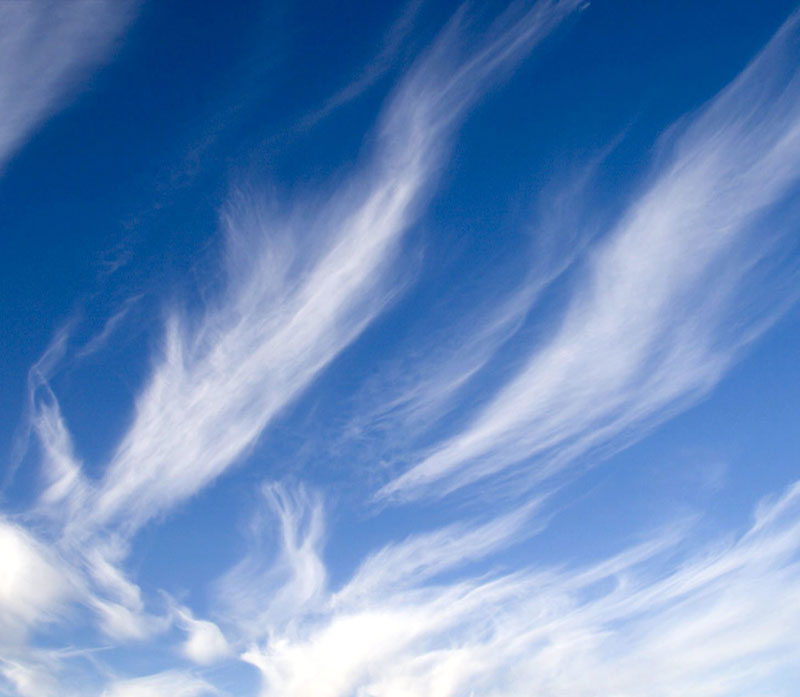
File Menu > Open both rockmountain.jpg, and clouds.jpg images. These photos are available on the Google Classroom page to download and use for this exercise.
Step 3
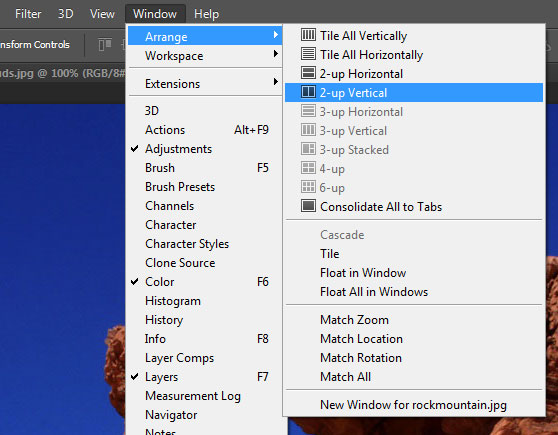
Place both files on your screen like the screen shot below by doing this:
Window > Arrange > 2-up Vertical
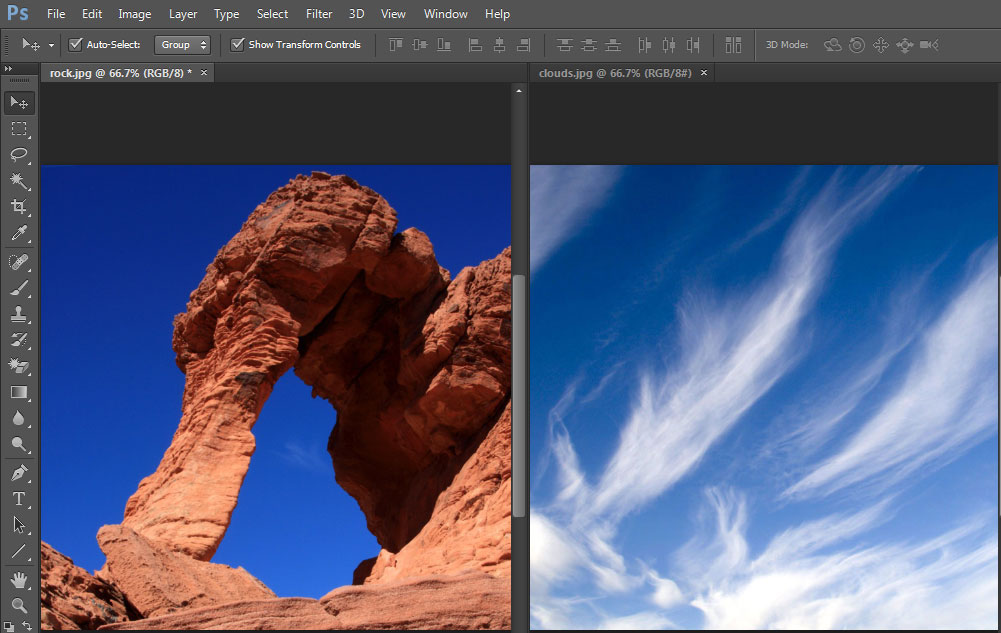
Step 4
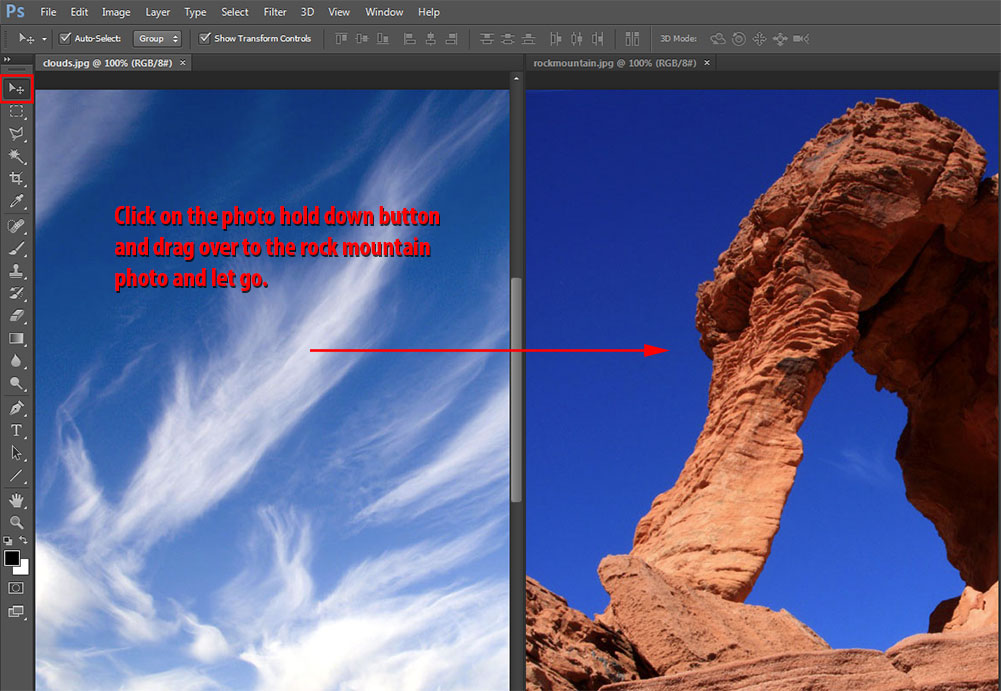
Select the Move tool
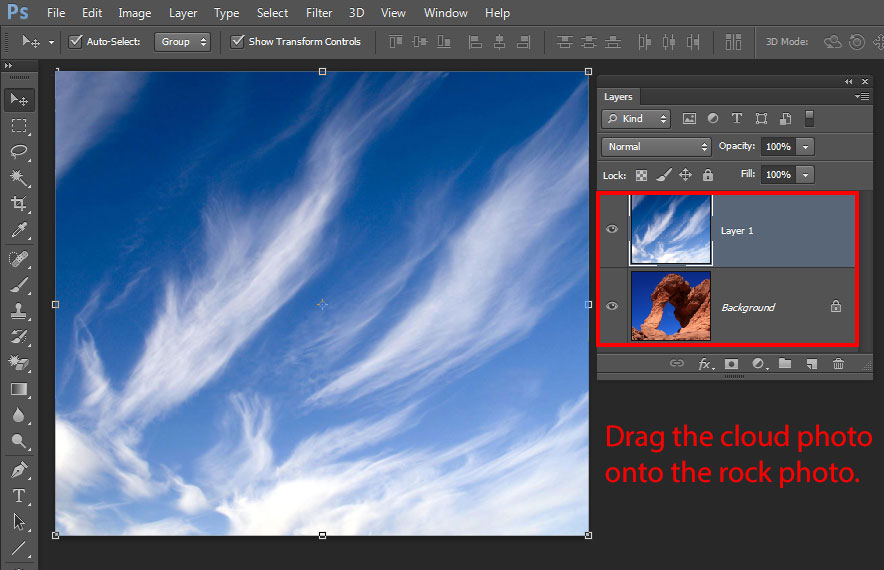
Click in the center of the clouds image, hold down the mouse button, hold down the shift key on the keyboard then drag and drop the clouds image to the rock mountain image and let go of the shift key and mouse button at the same time.
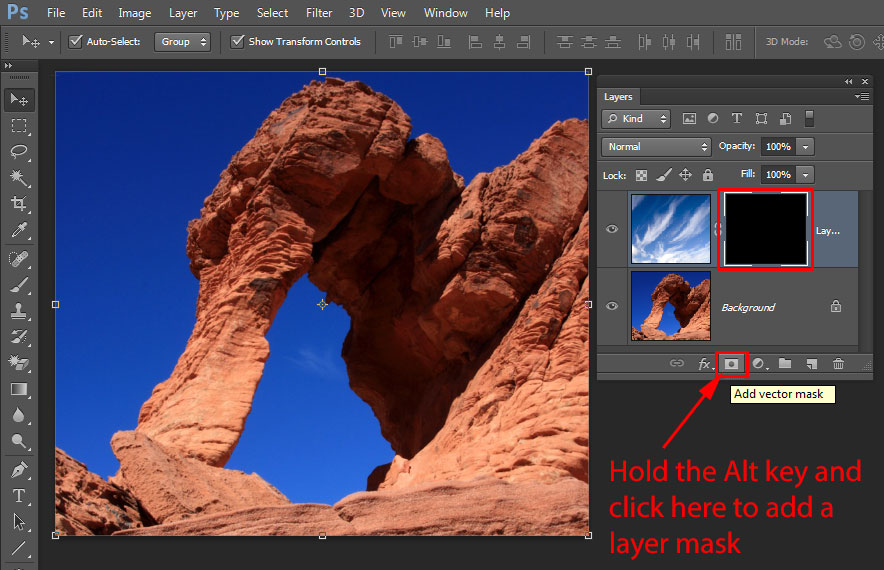
Step 5
Then, press and hold the Alt key and click on the Add Layer Mask icon at the bottom of the Layers palette.
The Layer mask is now filled with Black completely hiding the new clouds photo.
Step 6
Select the Brush Tool
TIP - SELECT THE BRUSH TOOL BY HITTING THE LETTER B ON YOUR KEYBOARD.

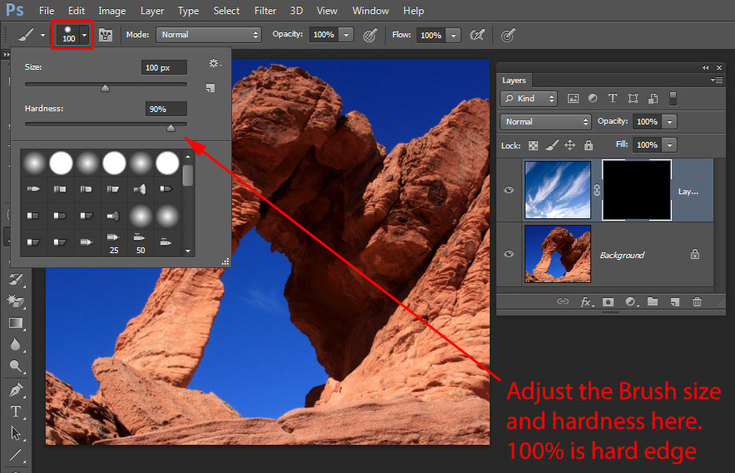
Click here to open the Brush Options
Set the Brush to size 100px and Hardness of 90%
Set the Brush to size 100px and Hardness of 90%
Step 7
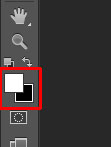
You need to paint with White to see the pixels of the clouds appear. Hit the letter "D" on your keyboard until it looks like this.
Then hit the letter "X" until it looks like this.
Step 8
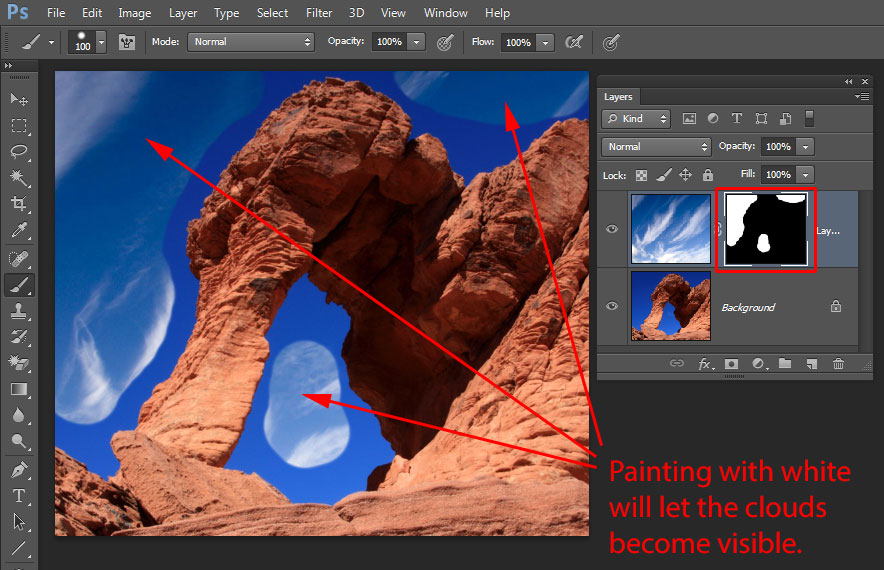
Begin to paint with white and you will see the clouds appear.
Step 9
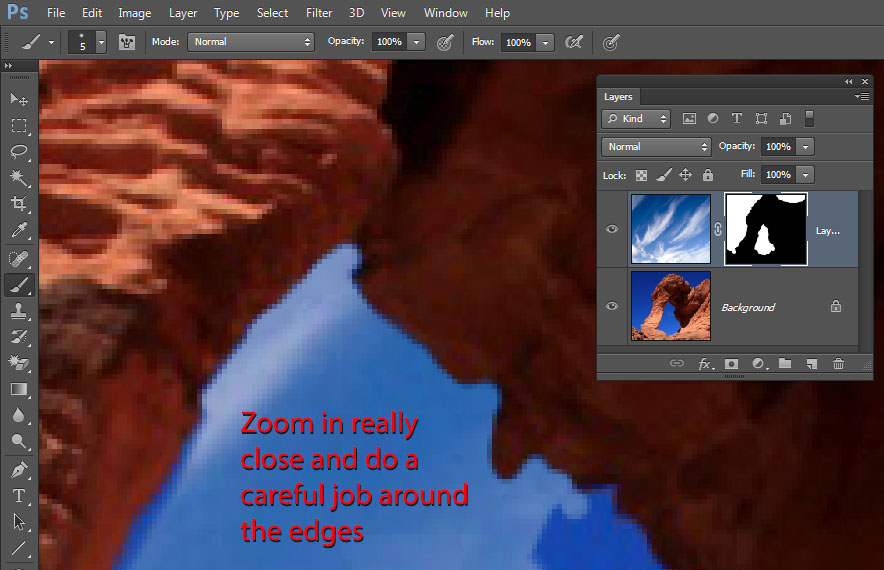
Zoom in very close, change to a smaller brush and use the Wacom tablet and pen to do a very precise and careful job along the edges.
Hold the Space bar down and then click on the image to move the image around inside the window.
Step 10
If you paint too much away of the mountain, hit the letter "X" on your keyboard and paint with BLACK to bring the pixels back in the rock mountain image.
Edit Menu > Undo right away to remove any mistake you make will also help.
Step 11
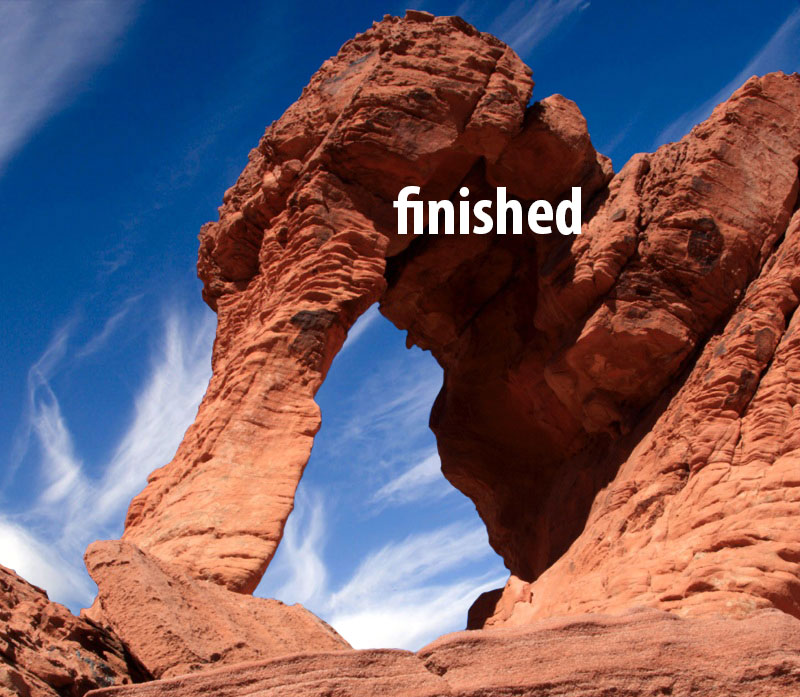
Completed layer making exercise seen below
File Menu > Save As
Save this to Your Google Drive folder as Photoshop Layer Masking
Turn into Google Classroom when finished with this exercise