Gesture and Scribble Color Line Drawing
Project Requirements & Objectives: Students will...
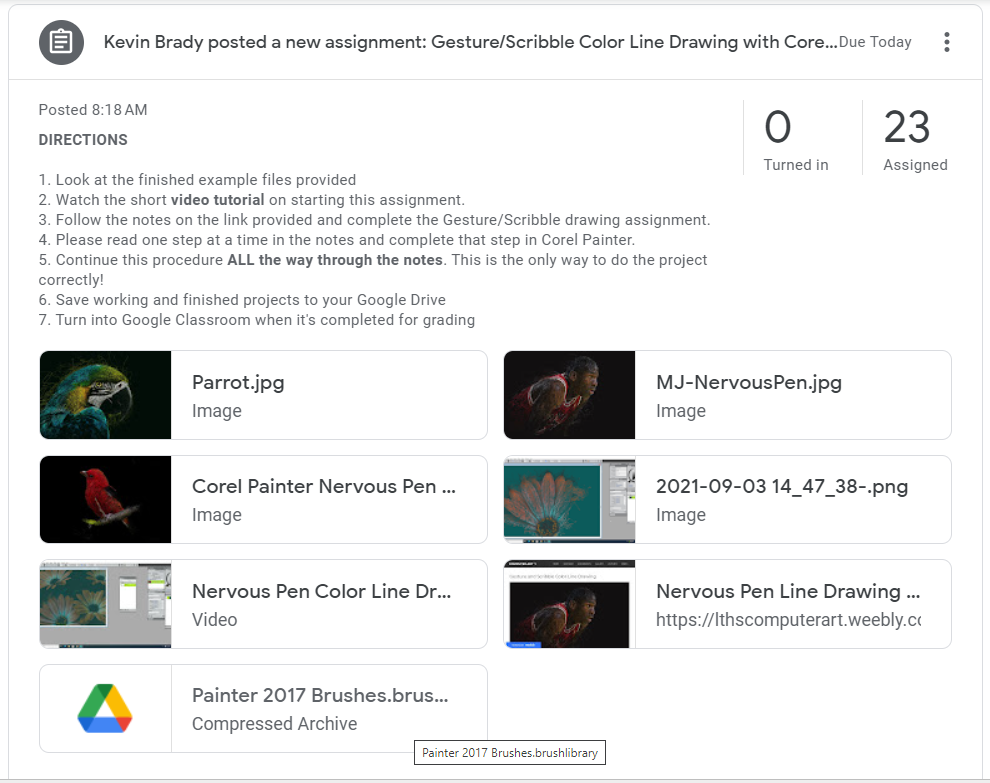
DIRECTIONS
Create a gesture/scribble color line drawing with the focus on the art elements of line and color using the Nervous Pen in Corel Painter.
PROJECT STEPS
- Students will learn a creative style known as a scribble/gesture drawing: a loose form of sketching that attempts to capture your subject's basic form and express movement.
- They will learn digital color line drawing techniques to create a color line drawing from a photo using energetic and free-flowing energetic lines.
- They will create a realistic representational drawing in Corel Painter that develops two-dimensional loose lines to appear in a three-dimensional color drawing.
DIRECTIONS
Create a gesture/scribble color line drawing with the focus on the art elements of line and color using the Nervous Pen in Corel Painter.
PROJECT STEPS
- Watch the short video tutorial on starting this assignment.
- Look at the finished example files provided
- Follow the notes on the link provided and complete the scribble/gesture drawing Assignment.
- Please read one Step in the notes and complete that Step in Corel Painter
- Continue this procedure ALL the way through the notes. This is the only way to do the project correctly!
- Save working and finished projects to your Google Drive as both a Corel .RIF file
- Turn in a copy of your finished scribble/gesture drawing .JPG file to Google Classroom when it's completed for grading
Step 1
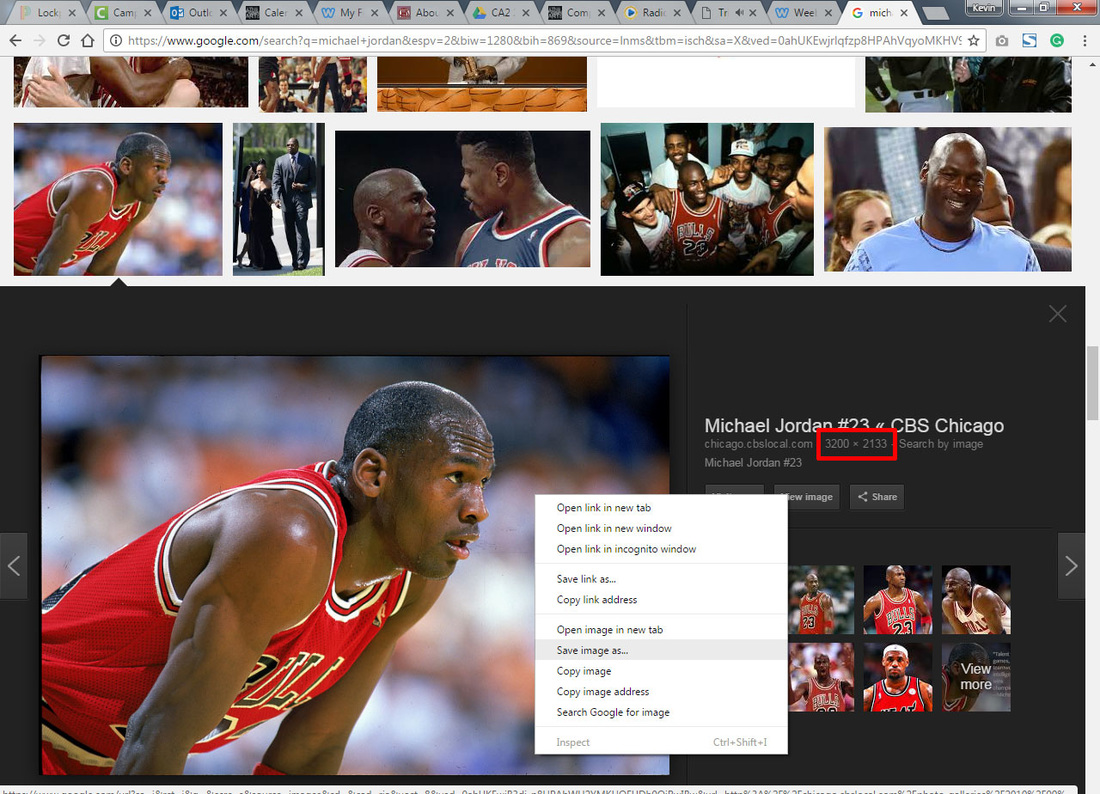
Use Google Advanced Image Search and find a photograph at least a 2MP (1600 x 1200) pixel or larger photo of a person, bird, fish, or flower and save this photo to your Google Drive. Make sure it has at least 3 different colors. The more colorful the photo the better.
You could also use a stock photo site like: pexels.com for good high quality large photos.
Step 2
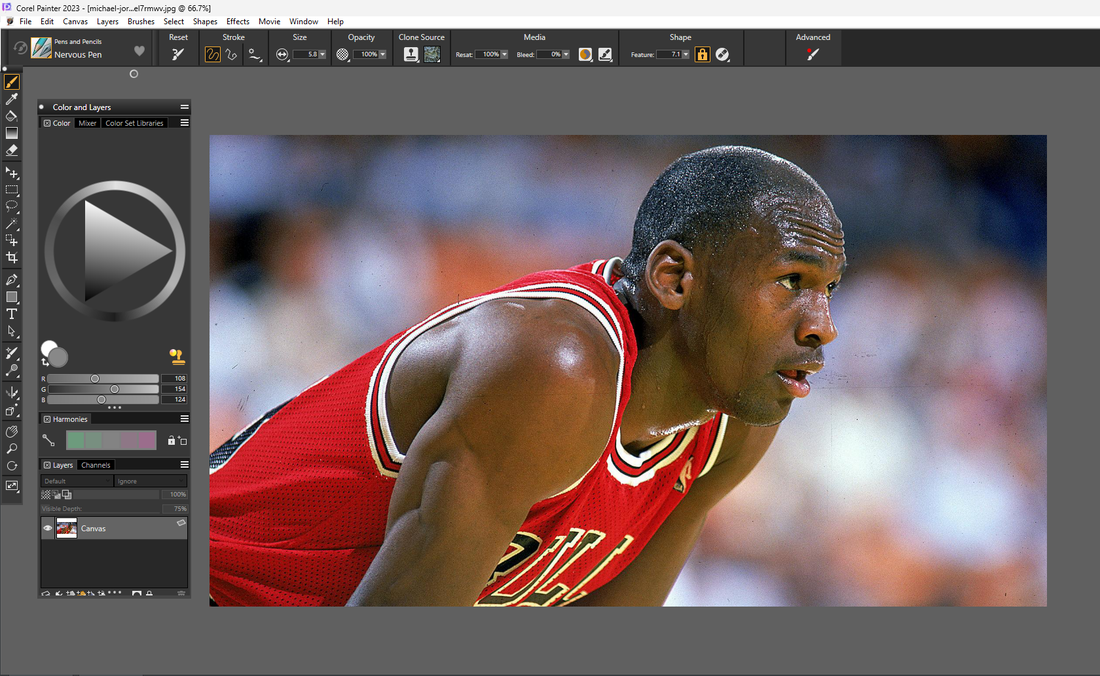
Open Corel Painter and then File > Open and open the photo you just saved
Open Corel Painter and then File > Open and open the photo you just saved
Step 3
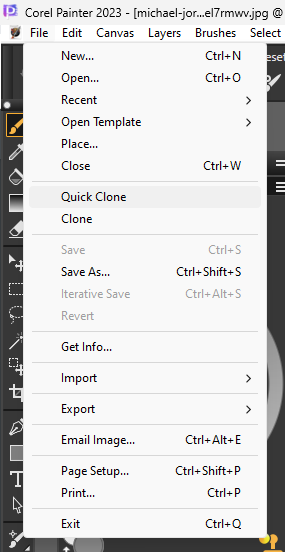
File > Quick Clone
File > Quick Clone
Step 4
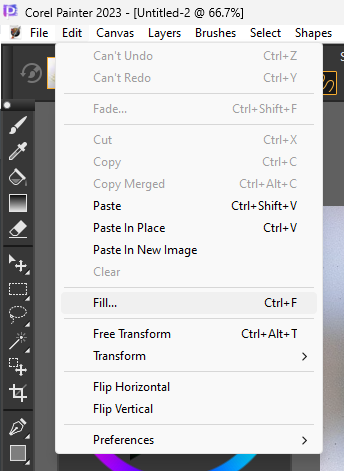
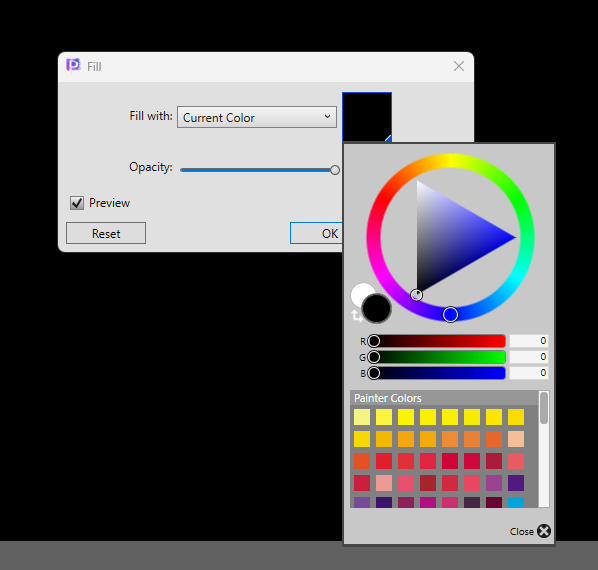
Select Black as your background color by going to Edit Menu > Fill and select the current color to Black
Select Black as your background color by going to Edit Menu > Fill and select the current color to Black
|
|
Step 5
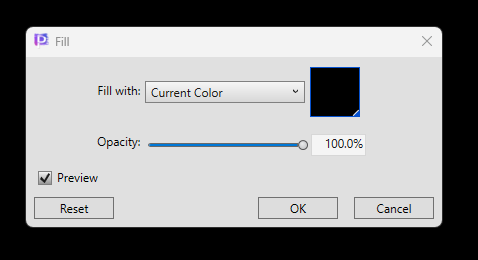
Then click the OK button
Then click the OK button
Step 6
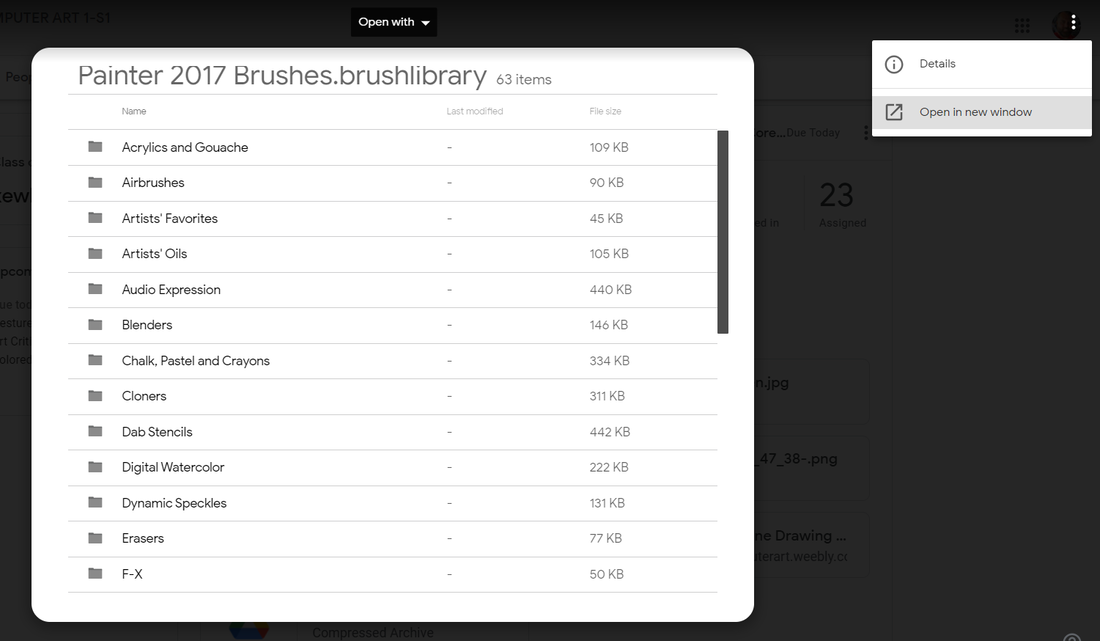
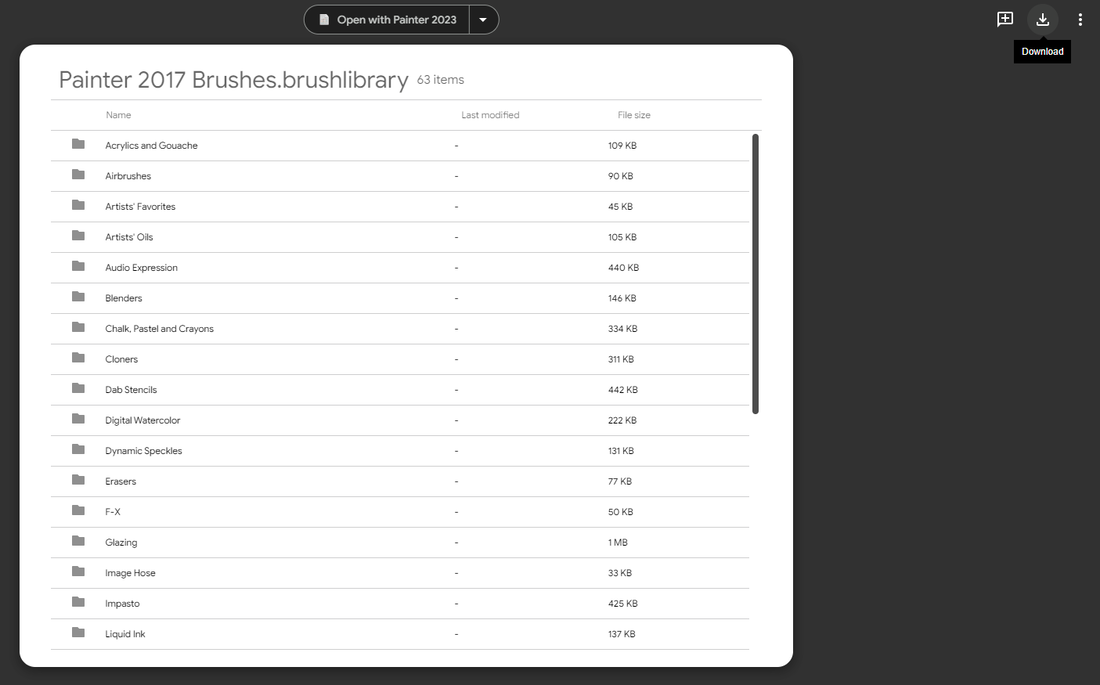
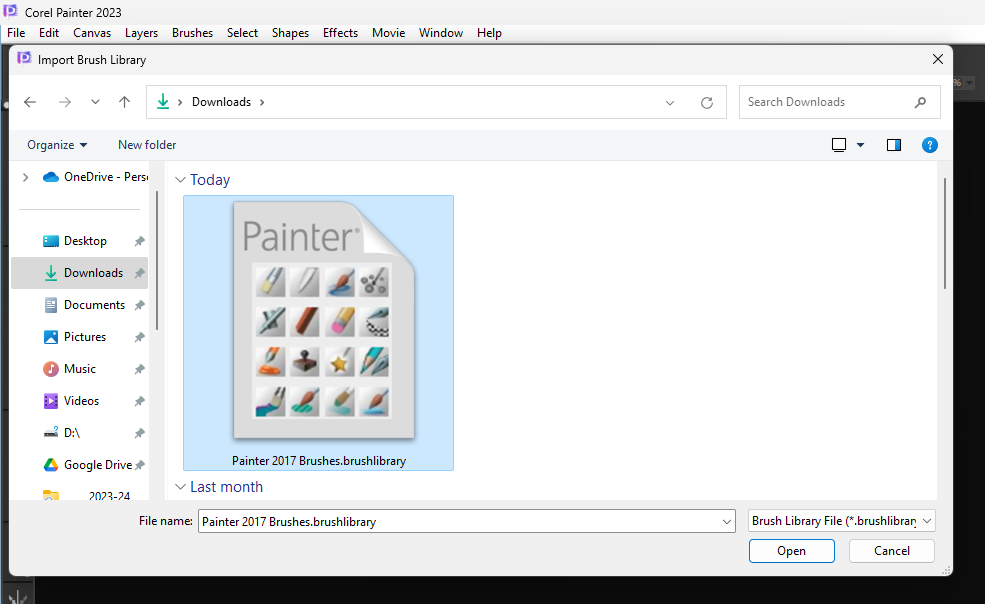
Download the Painter 2017 Brushes from the Google Classroom post
Download the Painter 2017 Brushes from the Google Classroom post
Install the 2017 Brushes in Corel Painter by going to Brushes > Import > Brush Library
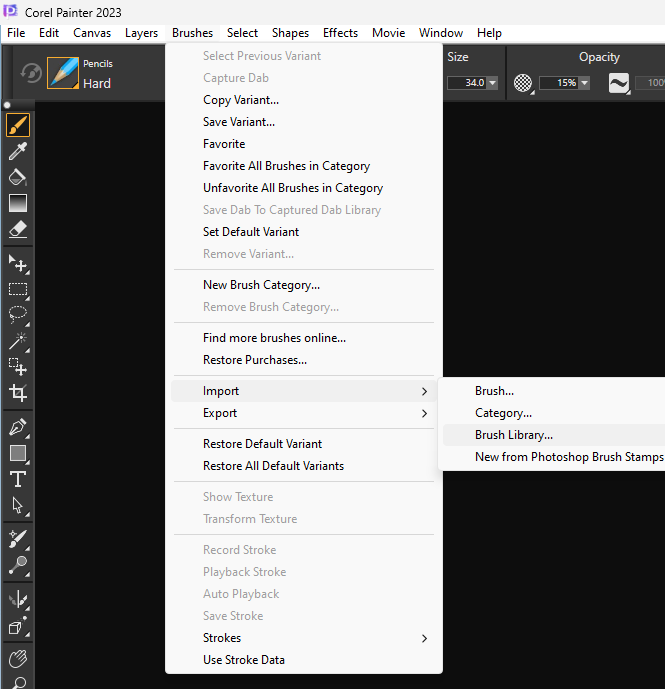
Select the 2017 brushes in the Downloads folder and click the Open button
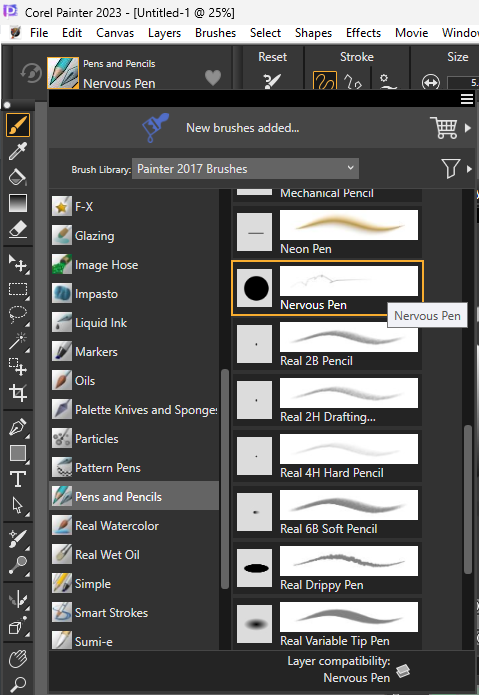
Select the Pens and Pencils Brush > Nervous Pen style
Step 7
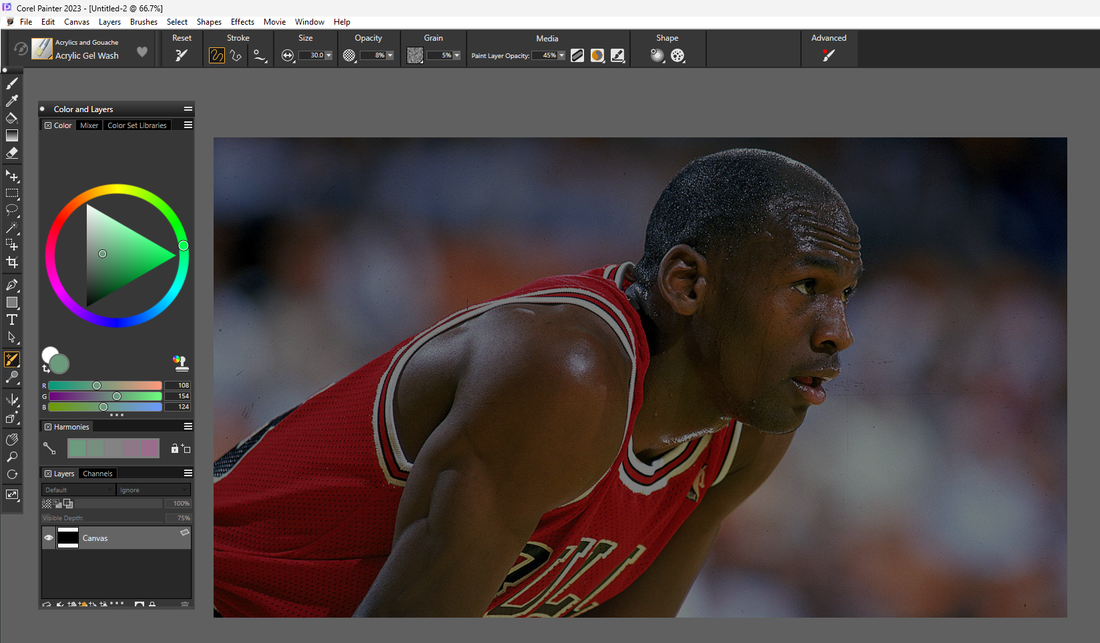
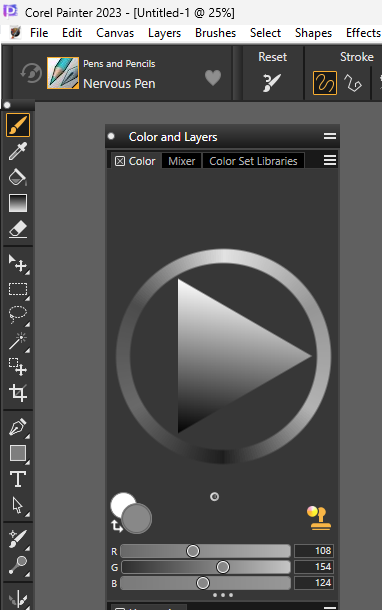
Click on the Stamp icon in the Color Panel so Painter will pick up the colors from the photo as you draw
Click on the Stamp icon in the Color Panel so Painter will pick up the colors from the photo as you draw
Step 8
Begin to draw over the photo carefully, but in a very carefree (rapid jittery hand movement) fast and loose gesture or scribble style.
DON'T draw back and forth in a straight line.
Begin to draw over the photo carefully, but in a very carefree (rapid jittery hand movement) fast and loose gesture or scribble style.
DON'T draw back and forth in a straight line.
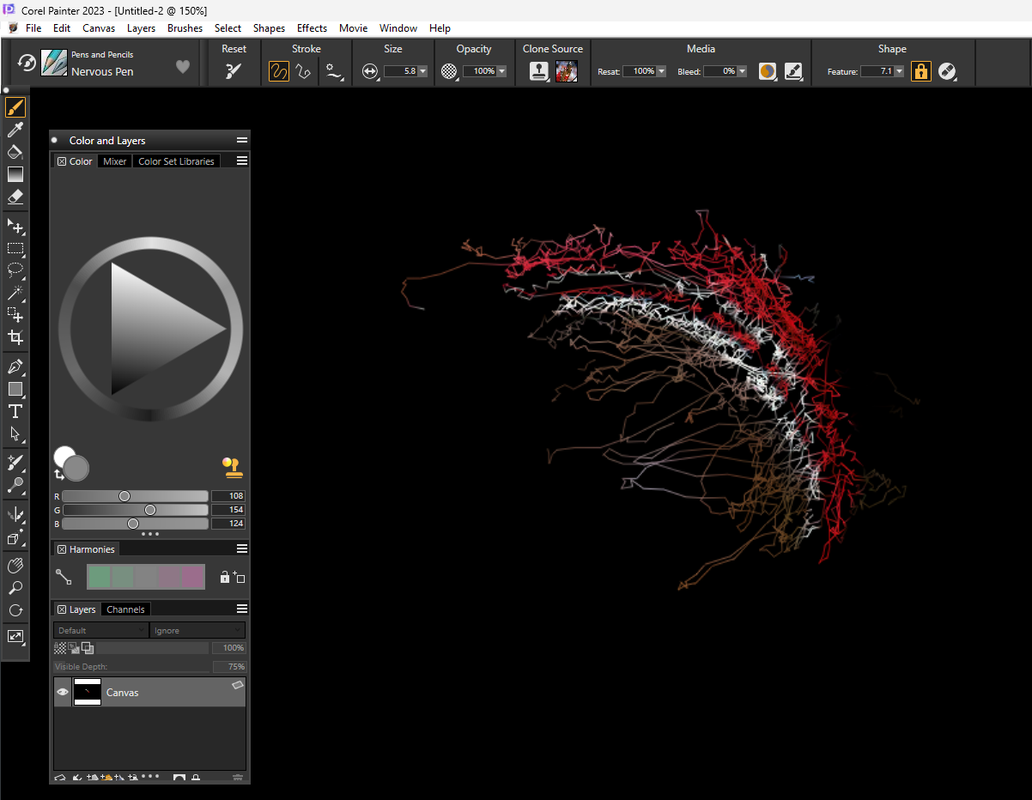
Step 9
Here the drawing is complete. Not every part of the is fully filled in. Leave some parts with less lines to vary the piece. Adjust the brush bigger for areas that don't contain detail, and make the brush really small when you paint in the details (eyes, nose, mouth).
As you work, Press CRTL+T to turn off and on the tracing paper. With tracing paper turned on you will see the photo below your lines. When it is off you will only see your lines.
Once complete, it will only be your lines that were created that will show up!
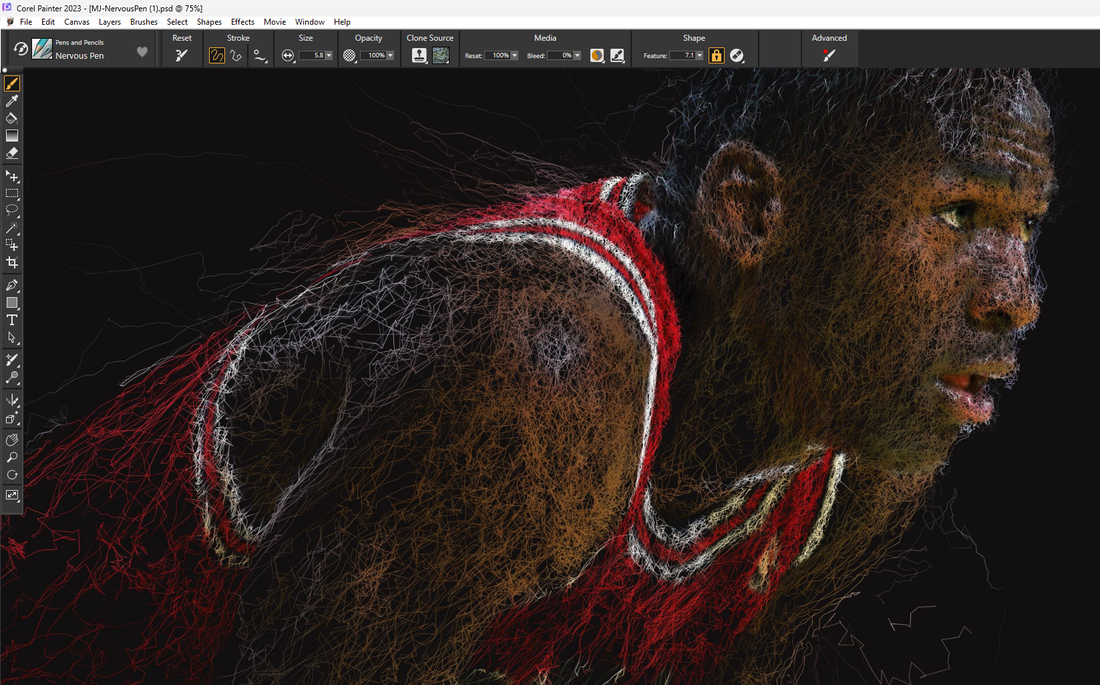
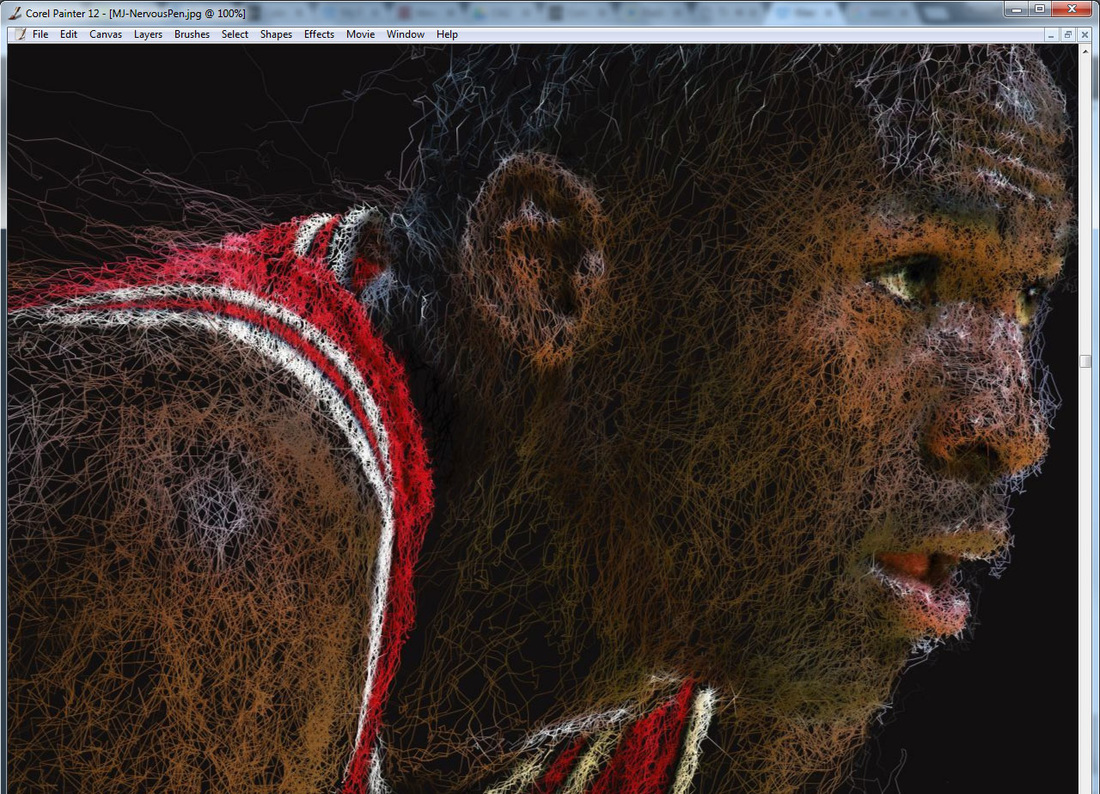
Step 11
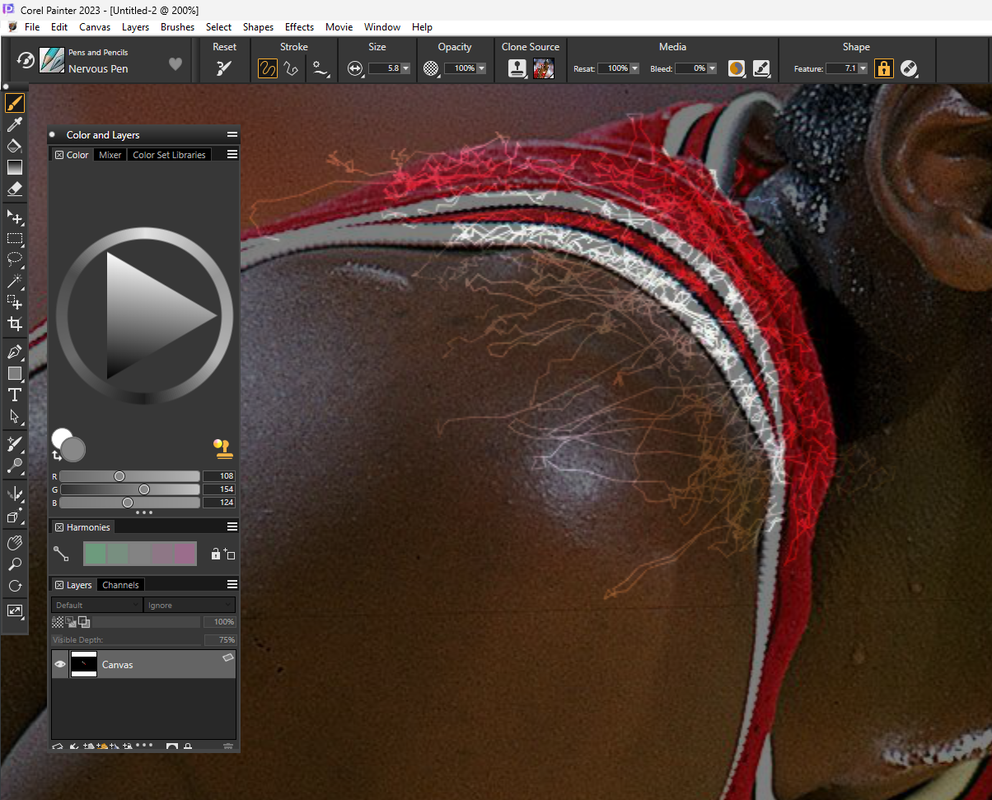
Here is a blown up detail of the drawing with no tracing paper on. Notice how in some areas the black of the canvas shows thru.
Here is a blown up detail of the drawing with no tracing paper on. Notice how in some areas the black of the canvas shows thru.
Step 12
Save your working Nervous Pen Line Drawing
File > Save As
Save this to Your Google Drive folder as Corel Painter Nervous Pen Line Drawing
Save as type: Select RIFF from the drop down menu
Then click the Save button
File > Save As
Save this to Your Google Drive folder as Corel Painter Nervous Pen Line Drawing
Save as type: Select RIFF from the drop down menu
Then click the Save button
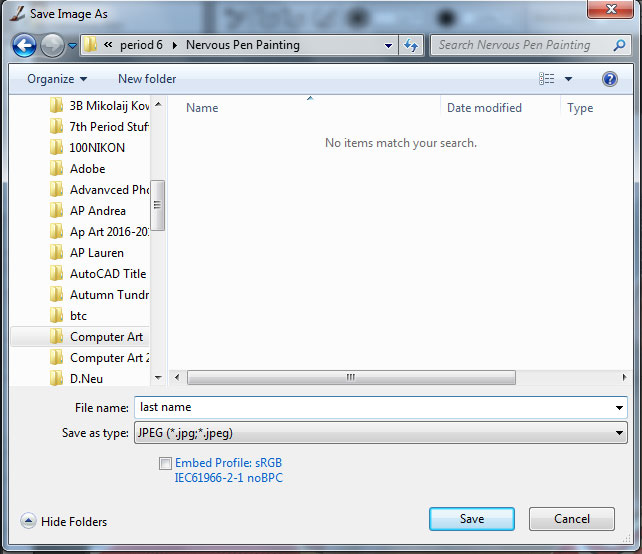
When the project is completed
File > Save As
Save this to Your Google Drive folder as Corel Painter Nervous Pen Line Drawing
Save as type: Select JPEG (*jpeg or jpg) from the drop down menu.
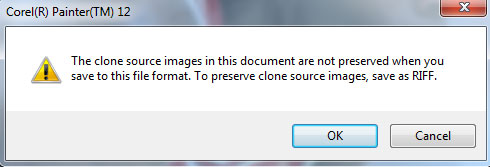
Click OK button here for these messages:
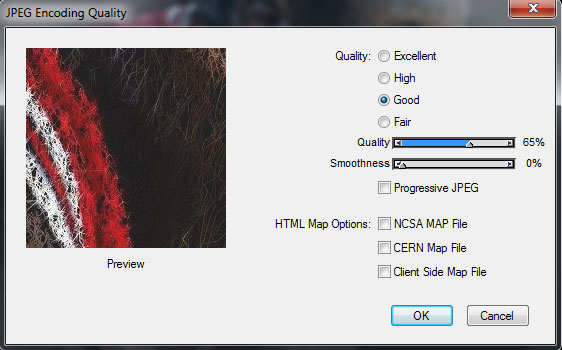
File > Save As
Save this to Your Google Drive folder as Corel Painter Nervous Pen Line Drawing
Save as type: Select JPEG (*jpeg or jpg) from the drop down menu.
Click OK button here for these messages:
|
|
Examples
