Chicago Tourism Poster
Directions
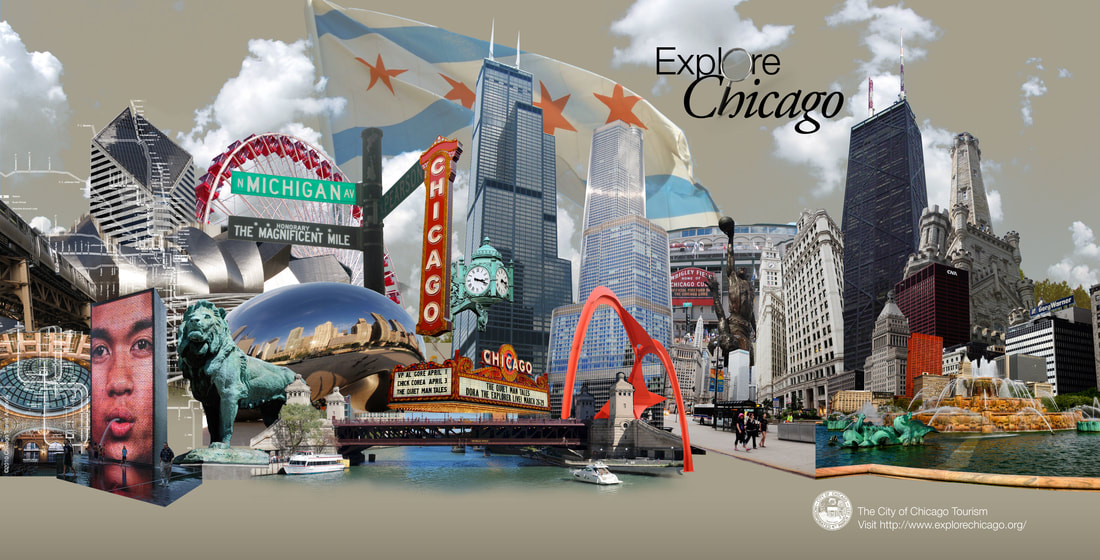
Using your own photos from our field trip, Flickr Images or photos I have supplied of Chicago, create a Billboard Poster for Explore Chicago (The Tourism bureau for the City of Chicago). Almost ALL of the images must be selected and cut out and the backgrounds removed with clean hard edge selections. This type of selection technique will be shown with step by step notes given as a resource on the page below. A few images (2-3 max) could have soft faded edges using the layer masking we have been using in many of our previous projects.
YOU MUST use at least 15 images and up to 20 images total in the finished poster. (tourism attractions and landmarks of downtown Chicago)
YOU MUST use the Explore Chicago logo, City of Chicago Seal, the text - The City of Chicago Tourism and the text - Visit http://www.explorechicago.org at 24pts. in white or black in a easily readable font. Arial for Example
|
Step 1 Open Photoshop and make your new document Using Adobe Photoshop make a new document File > New Project and enter the following: Width 30 Inches by Height 10 Inches & Resolution 175 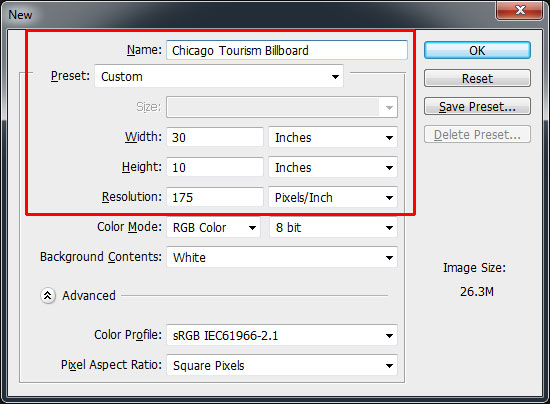
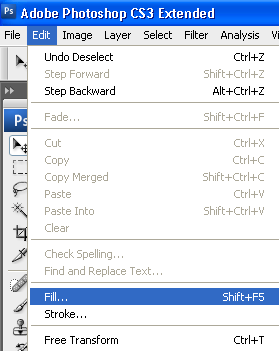
Step 2 Select a color for the background of your poster by selecting a new Foreground color 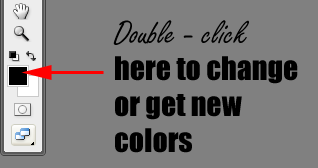
Pick this color below to begin (you can change this later if you want) Red 120 - Green 113 - Blue 96 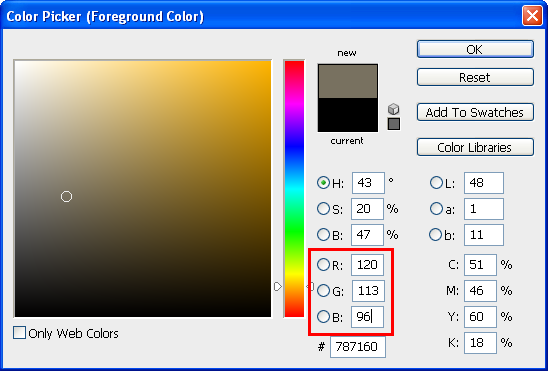
and then Edit > Fill with Foreground Color and click OK:
Step 3 Open your first Chicago image located on your Google Drive or one of mine found on the Computer > Graphics Drive (G:) > Computer Art > Projects > Photoshop > Chicago Billboard 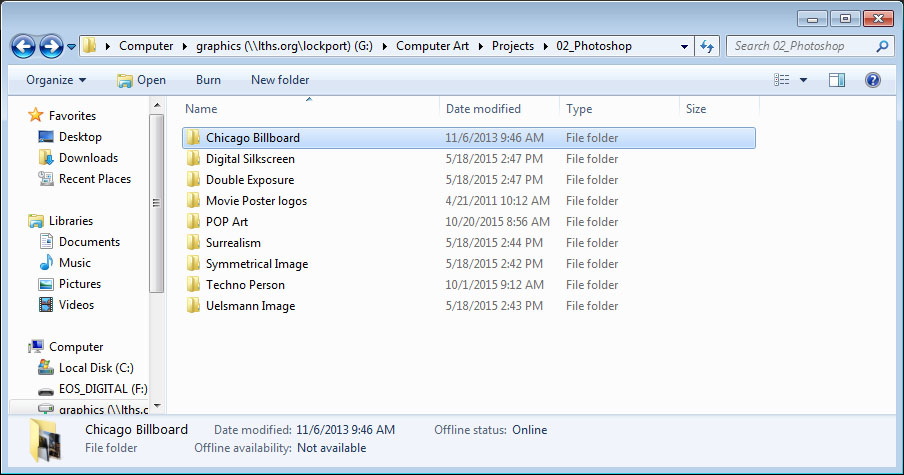
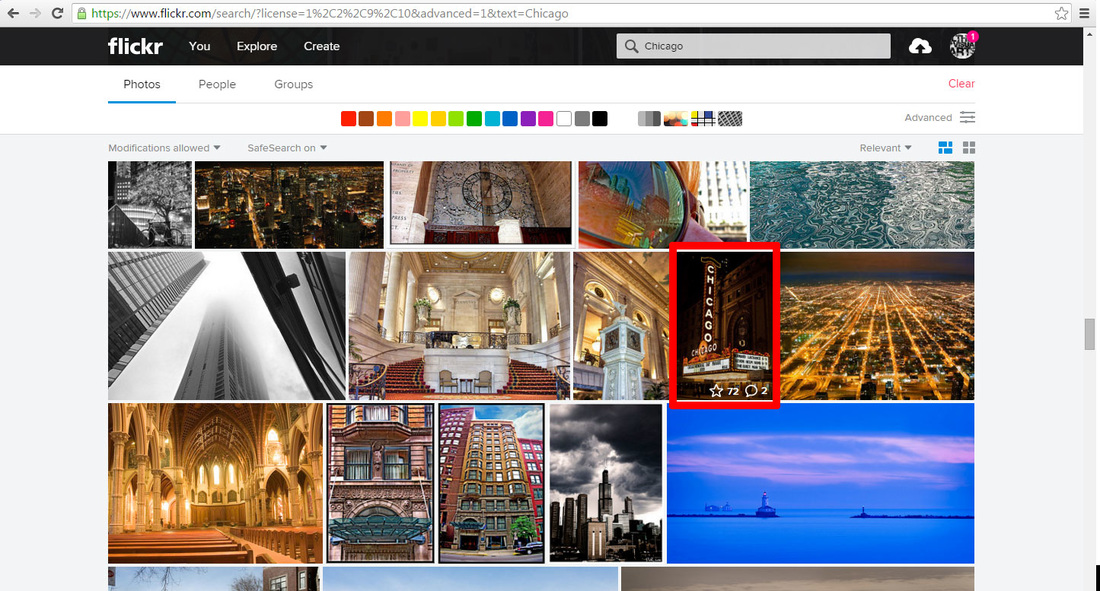
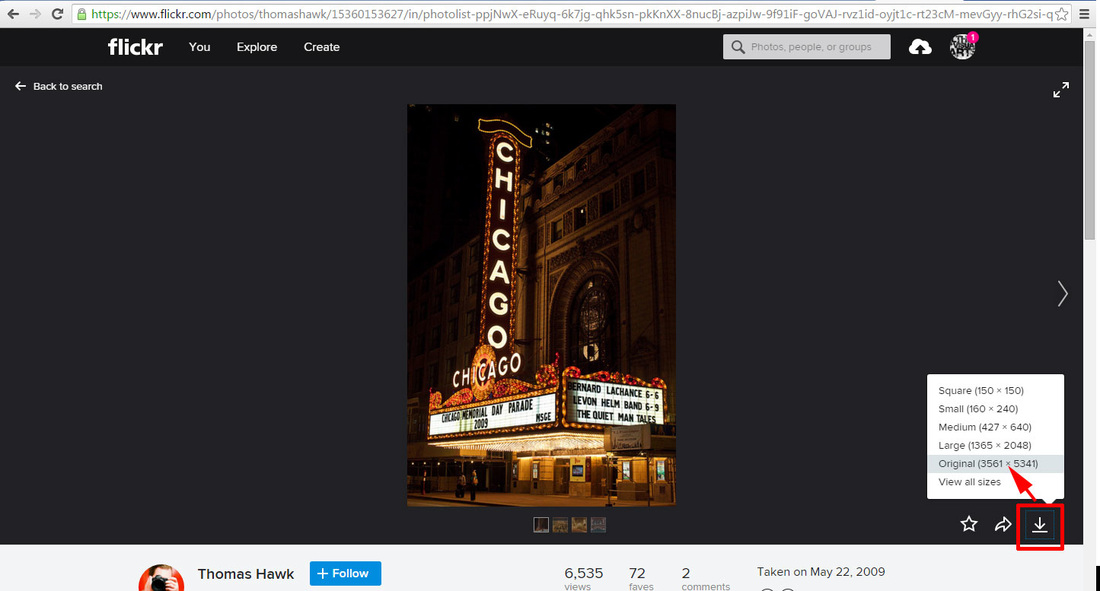
Step 4
Depending on what you would like to select in the image WILL determine what tool or techniques should be used to bring it to the new background. See info below: Selection technique 1 - Click here to see tutorial Selection technique 2 - what we have already been using to hide parts of images
Layer Masking > with Brush Hardness at 100, using black to hide parts of the image you don't want visible. This is the same masking technique we have been doing since we started using Photoshop. The only difference is using a Brush Hardness of 100 to get a clean edge, not soft (except when needed on one or two images ONLY!) Decide which one would do the job of removing the background the quickest and do the best job. Use the Move Tool to drag and drop your image into the Chicago Tourism Billboard document you created in Step 1 Step 5
Continue this process with the other Chicago images. Remember you need to have at least 15 images and up to 20 images total used. Move the images around and think about your composition as you keep adding images to your the Chicago Tourism Billboard document. Step 6
Add The Explore Chicago Logo located in the Computer > Graphics Drive (G:) > Computer Art > Projects > Photoshop > Chicago Billboard Make this SMALL like the example Tourism poster at the top 
Add the City of Chicago Seal located in the Computer > Graphics Drive (G:) > Computer Art > Projects > Photoshop > Chicago Billboard
Make this SMALL like the example Tourism poster at the top 
Select the Type Tool in Photoshop 

Click on the background at the bottom right or left corner and Type out - The City of Chicago Tourism (24pts. for size) in white or black Click on the background at the bottom right or left corner and Type out - Visit http://www.explorechicago.org (24pts. for size) in white or black 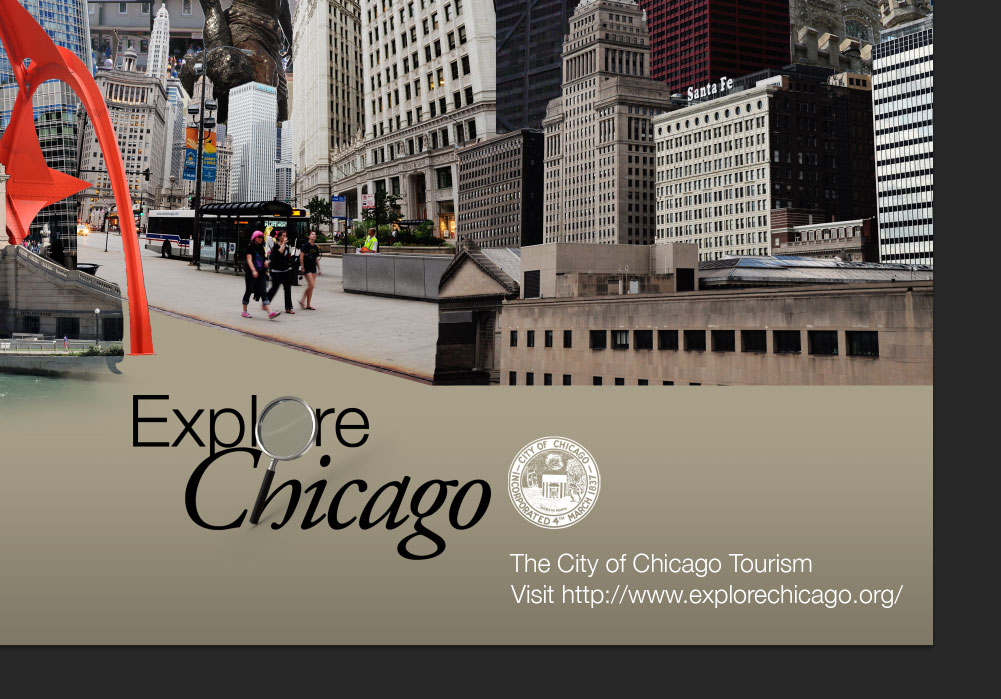
Step 8 Save this file to your Google Drive folder as ChicagoPoster.psd Save a copy of this project as a JPG file to your Google Drive folder as ChicagoPoster.jpg Turn in both of these files (ChicagoPoster.psd & ChicagoPoster.jpg) to Google Classroom for Grading when your finished. WORTH 100 POINTS 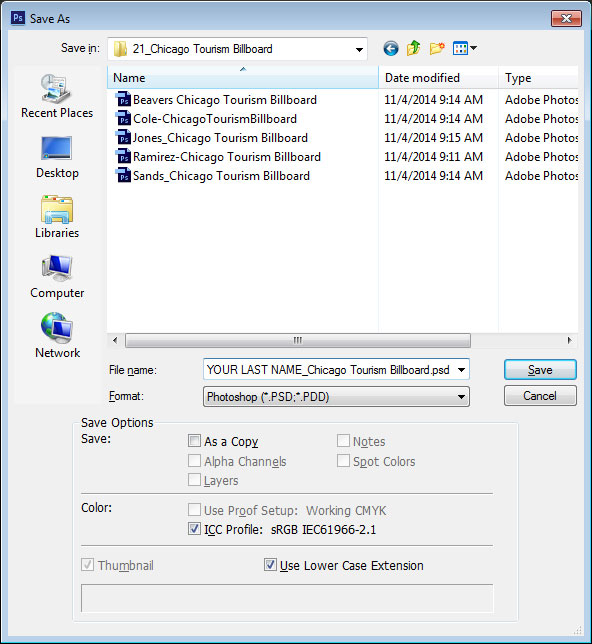
|